Combat Tips, Airstrike Uplink and Revenge Strike
Switch weapons, use scoped aiming and change firing angles. Find the $2M Airstrike Uplink and the 19 Robux Revenge Strike purchase prompt.
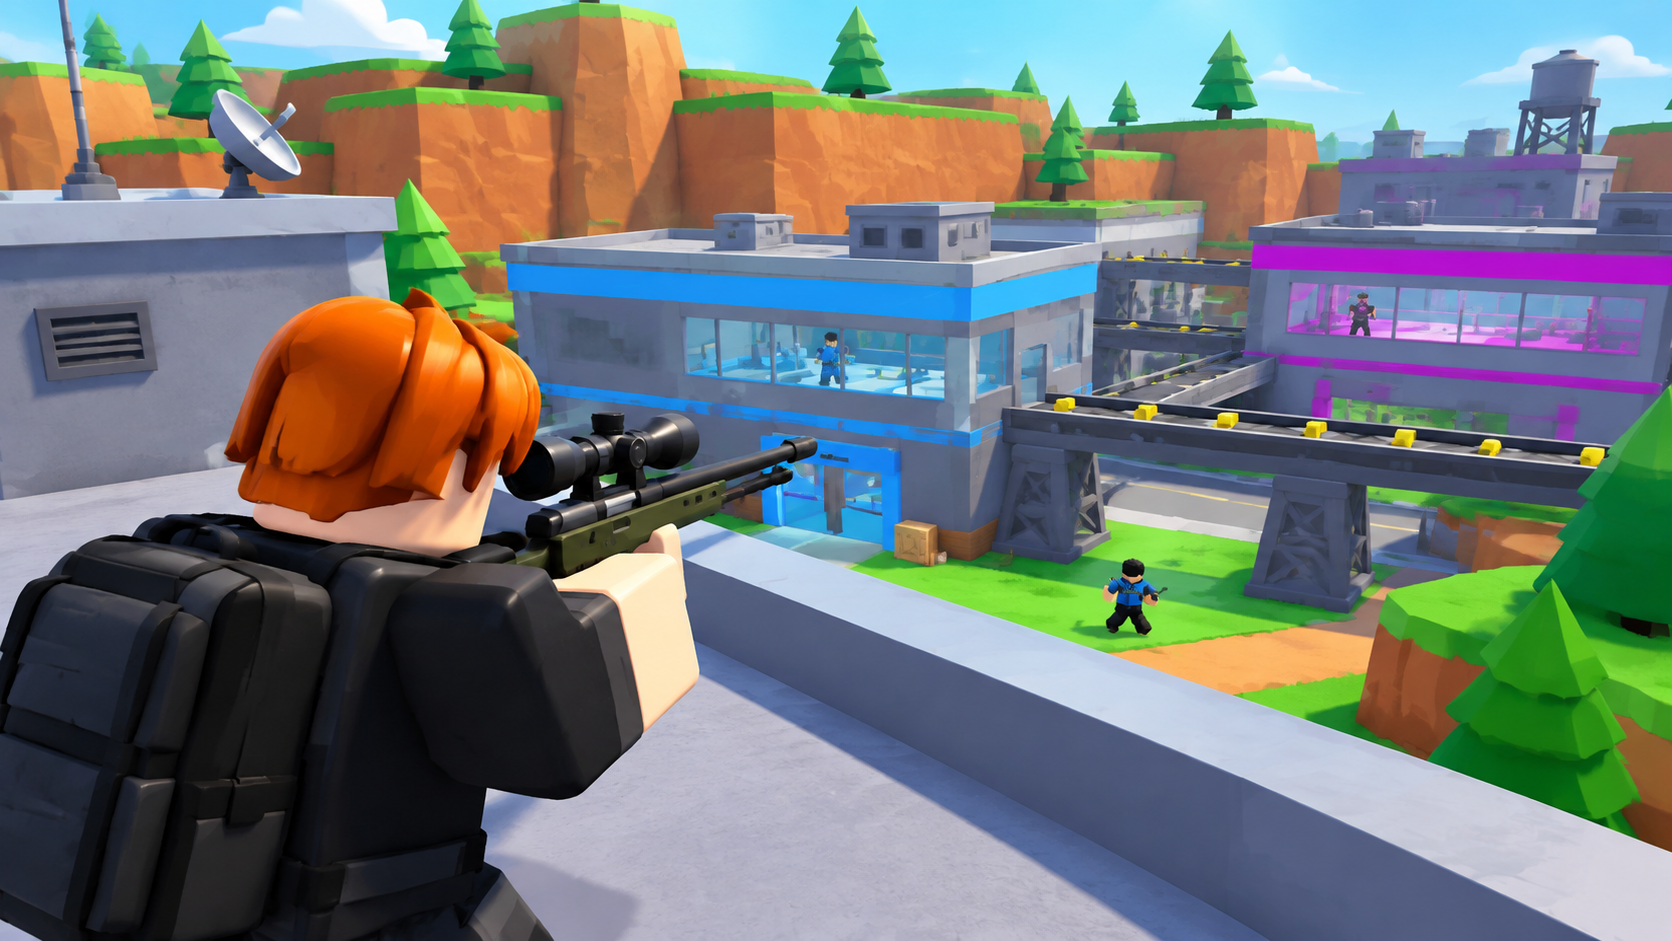
Rooftops and factory windows give you sightlines toward rival bases, while switching between scoped and third-person views helps you track opponents as you move. Airstrike Uplink and Revenge Strike provide separate attack options with different entry points and currencies.
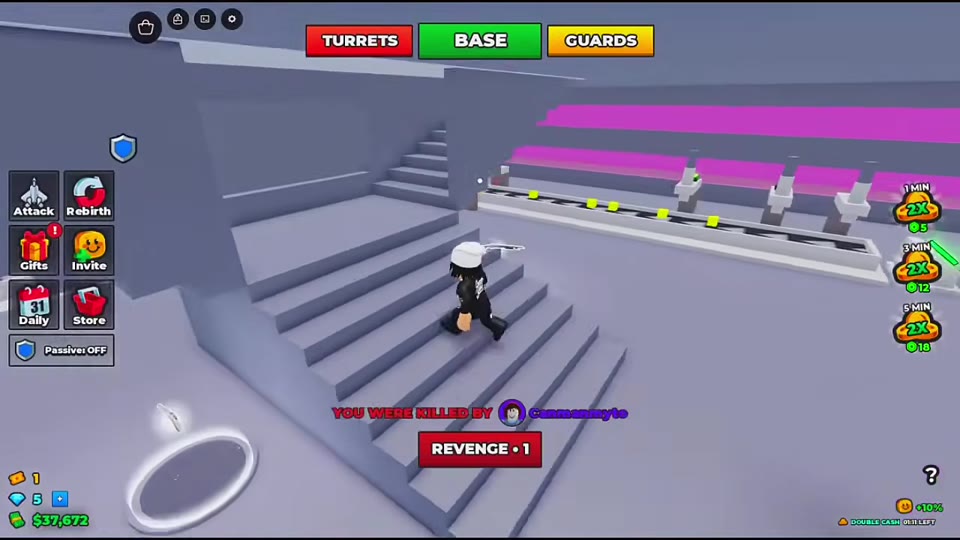
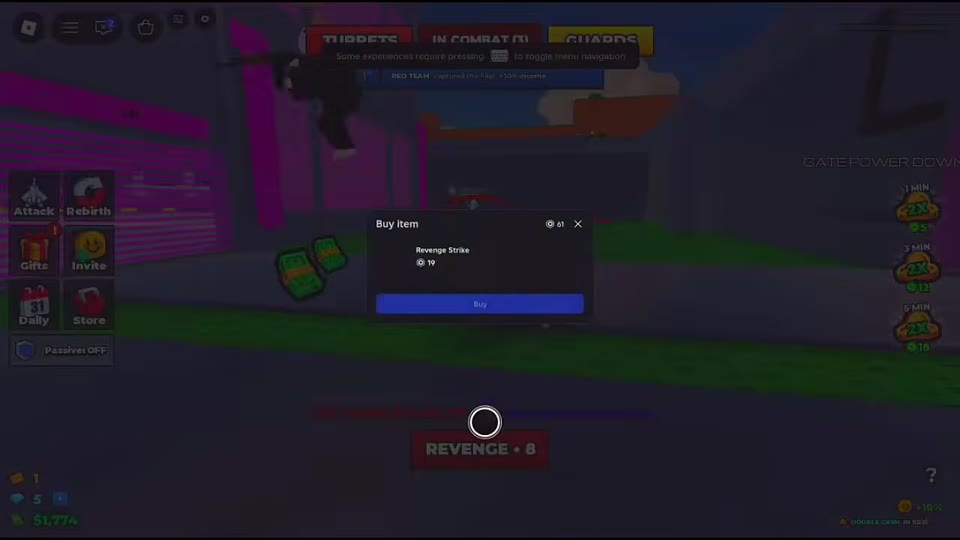
Select your gun by its hotbar icon, scope in to track a target, then leave the scope to check your surroundings and reposition. Carrying loot still allows movement and scoped aiming. Find AIRSTRIKE UPLINK on the roof for a $2M cash construction cost; after a death, look below the killer notification for REVENGE. Its Revenge Strike purchase dialog shows 19 Robux.
Switch Weapons and Use Scoped Aiming
Start with the weapon you want in your hotbar. If you still need to collect one, check the weapon locations and unlock requirements.
- Select an occupied hotbar slot to equip its gun. Check the icon and the weapon in your character’s hands.
- Select another occupied slot to switch weapons. Slot assignments can change: the Pistol occupies slot 1 in one session, while the Brown-Stock Rifle occupies it in another.
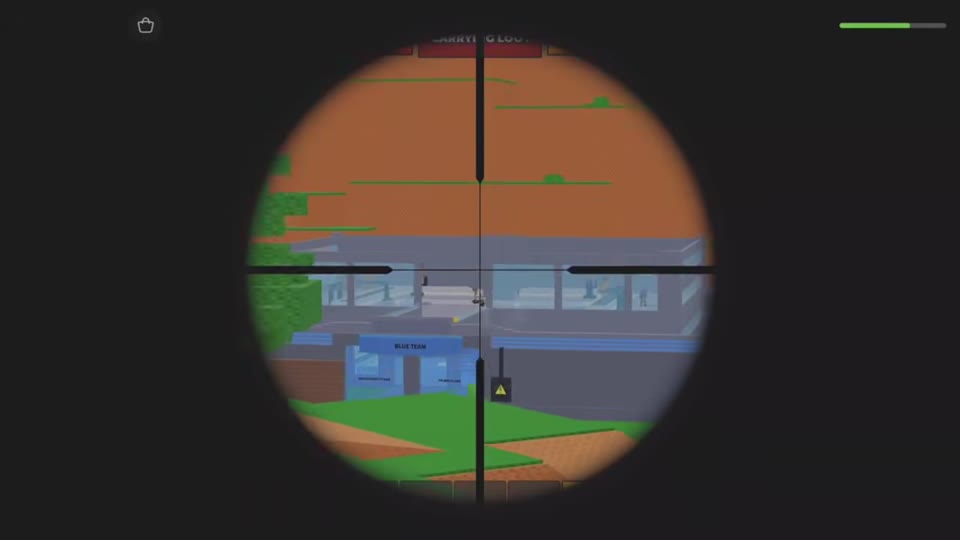
- With a scoped long gun equipped, enter the circular scope view and move the crosshairs onto your target.
- Leave the scope to check the wider area and adjust your position, then scope in again to reacquire the target.
Use this sequence when moving from distant observation to an entrance fight. In the Blue Team approach, the player first watches the entrance through a scope, then switches to another rifle before firing at a nearby opponent. Choose by the weapon icon rather than memorizing that example’s slot number.
Change Your Firing Angle from Roofs, Windows and Roads
Pick a position that gives you a clear view of the height your opponent is using. Factory roofs, wall-top paths and upstairs windows offer different angles toward neighboring buildings.
- Watching upper floors: Use the exterior factory stairs to reach the path above the perimeter wall. From a rooftop, scan rival windows and platforms; the Blue Team upper floor and Purple Team windows are both visible in the rooftop engagement.
- Fighting from inside: Pink Team’s upstairs window provides a firing position toward Blue Team’s platforms and roof. Alternate scoped aiming with the wider third-person view as the target moves.
- Approaching an entrance: Leave the scope, move along the exterior wall or around nearby trees and rocks, then aim again from your new position. Check above the gate as well as at ground level.
- Tracking a climber: Raise your aim toward the upper opening of the ladder. A climbing opponent can come into view as they approach the top.
If an opponent moves out of your firing angle, reposition before trying to follow them through the scope. For access to higher factory areas, follow the floor and roof construction route.
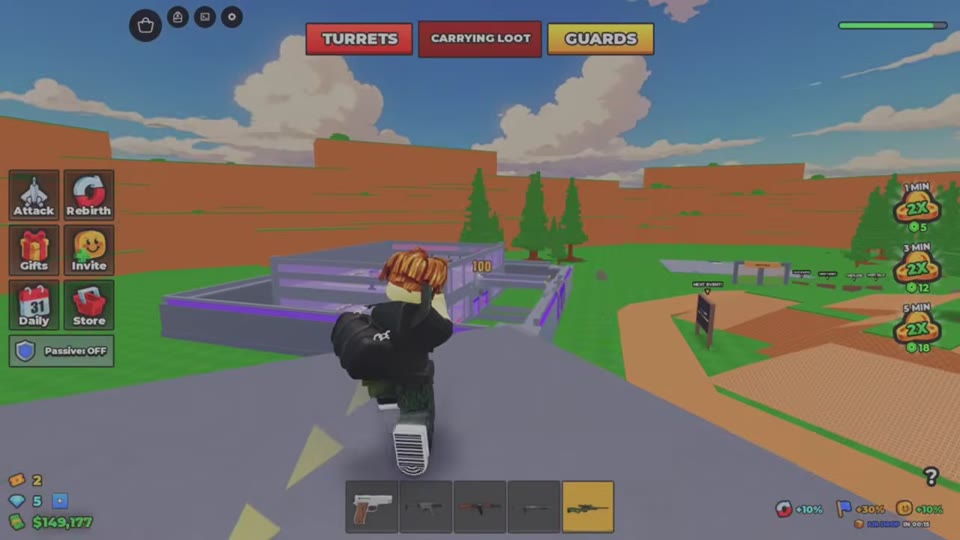 Scope Across Rival Factories and Reposition▶ Watch demonstration
Read Combat Feedback and Keep Moving with Loot
Red screen edges, directional hit indicators and a shrinking health bar signal incoming attacks. When these appear during an approach, leave the scope to check your surroundings and change position before aiming again.
IN COMBAT can replace BASE at the top of the screen and display a countdown in parentheses. Reloading! appears during a rifle engagement at Green Team, so watch for that message while exchanging fire.
CARRYING LOOT still lets you move and switch between scoped and third-person views. The black bag remains on your back while you do so. You can check an opponent’s position during the return trip, but delivery remains your objective: bring the bag to your home Safe and move close to its door until Bag delivered appears and the bag disappears. Follow the raid and loot delivery steps for the full return sequence.
Find Airstrike Uplink and Revenge Strike
Airstrike Uplink is the rooftop facility associated with attacks against enemies. Its $2M cash price pays for construction, not an individual strike.
- Reach your factory’s rooftop facility area.
- Locate the red floor pad labeled AIRSTRIKE UPLINK, near the Helipad and Minigun pads. Have $2,000,000 in cash for the facility purchase.
- Check the Rebirth menu for ownership status. The uplink appears as NOT YET before ownership and OWNED once owned.
If you are checking this facility because rebirth is locked, continue with the rebirth requirements.
Revenge Strike is the option associated with the player who killed you. After respawning, look below YOU WERE KILLED BY for the red REVENGE entry while the death notification is active.
The Buy Item dialog for Revenge Strike lists 19 Robux and provides a Buy button for purchase confirmation. Use the price inside that dialog when reviewing the purchase; the number beside the red REVENGE entry is not the item price.